3/23/18

Apron Cards

I am having so much fun with this sweet little apron die.
For the background I used the basket weave embossing folder and flipped to use the other side.

Here is a close up of what is supposed to look like a pie.
And if you have not tried the multipurpose adhesive sheets that really are a must have for attaching little do dads like the kitchen utensils, and accessories for the apron without getting glue everywhere.

3/20/18

Mini Milk Cartons

What do you call a whole bunch of rabbits?  A herd or colony.  I know it's true 'cause I just looked it up on the world wide web, and everything on the web is true.
Anyway, here is my colony of rabbits that I made to bring to my art group tomorrow.
There are 29 of them, just in case you are wondering.
This one was the original, but after punching a few holes and trying to get them straight, I need to come up with a better plan.
So I just took a mini clothes pin, colored it with a sharpie and clipped it on the top to keep the little milk carton closed.  It also makes it much easier to get at the dove chocolate eggs inside.

Oh, and just in case you want to make a herd of them, hop over to The Paper Pixie and find out how simple they are to make. Mini Milk Carton

3/8/18

Acetate Boxes

This little purses are so stinkin' cute and easy to make I thought I would post instructions on how to make them.

First take you box and cut it in half.  I use my rotary cutter but you can just mark it and cut it with a scissors. Then take some designer series paper (a design on both sides) and cut it to 6 1/4 x 4 3/8.
Score it at 2 3/4 and again at 3 3/8. This piece will go inside your box.
For the flap cut the designer paper 4 3/8 wide by 3 inches.  Score at 1/2 inch and 1 1/8 inches.
Then you will take your Framlit and cut it like so fashion.


I used the largest Framlit from this set, which sadly is retired. But you could also trace around a circle or make your own design and cut it out with a scissors.
I measured down about I inch and placed a magnet on the inside of the cardstock.  I secured it with a Stampin' Up glue dot so it's not going anywhere.

Then I covered it with another piece of paper, which is totally optional as it won't be showing.


Place double sided tape on the paper that will be facing out once it's inside your box.  Remove the other side from your tape and place it inside your box.

Place tape on the  bottom of the top flap of your box. So you will have two pieces that look like this.

This is the back of the box.  The flap is attached to the outside.

The top magnet will cling to the other magnet and let you know where it wants to be.  I used a glue dot for that as well.

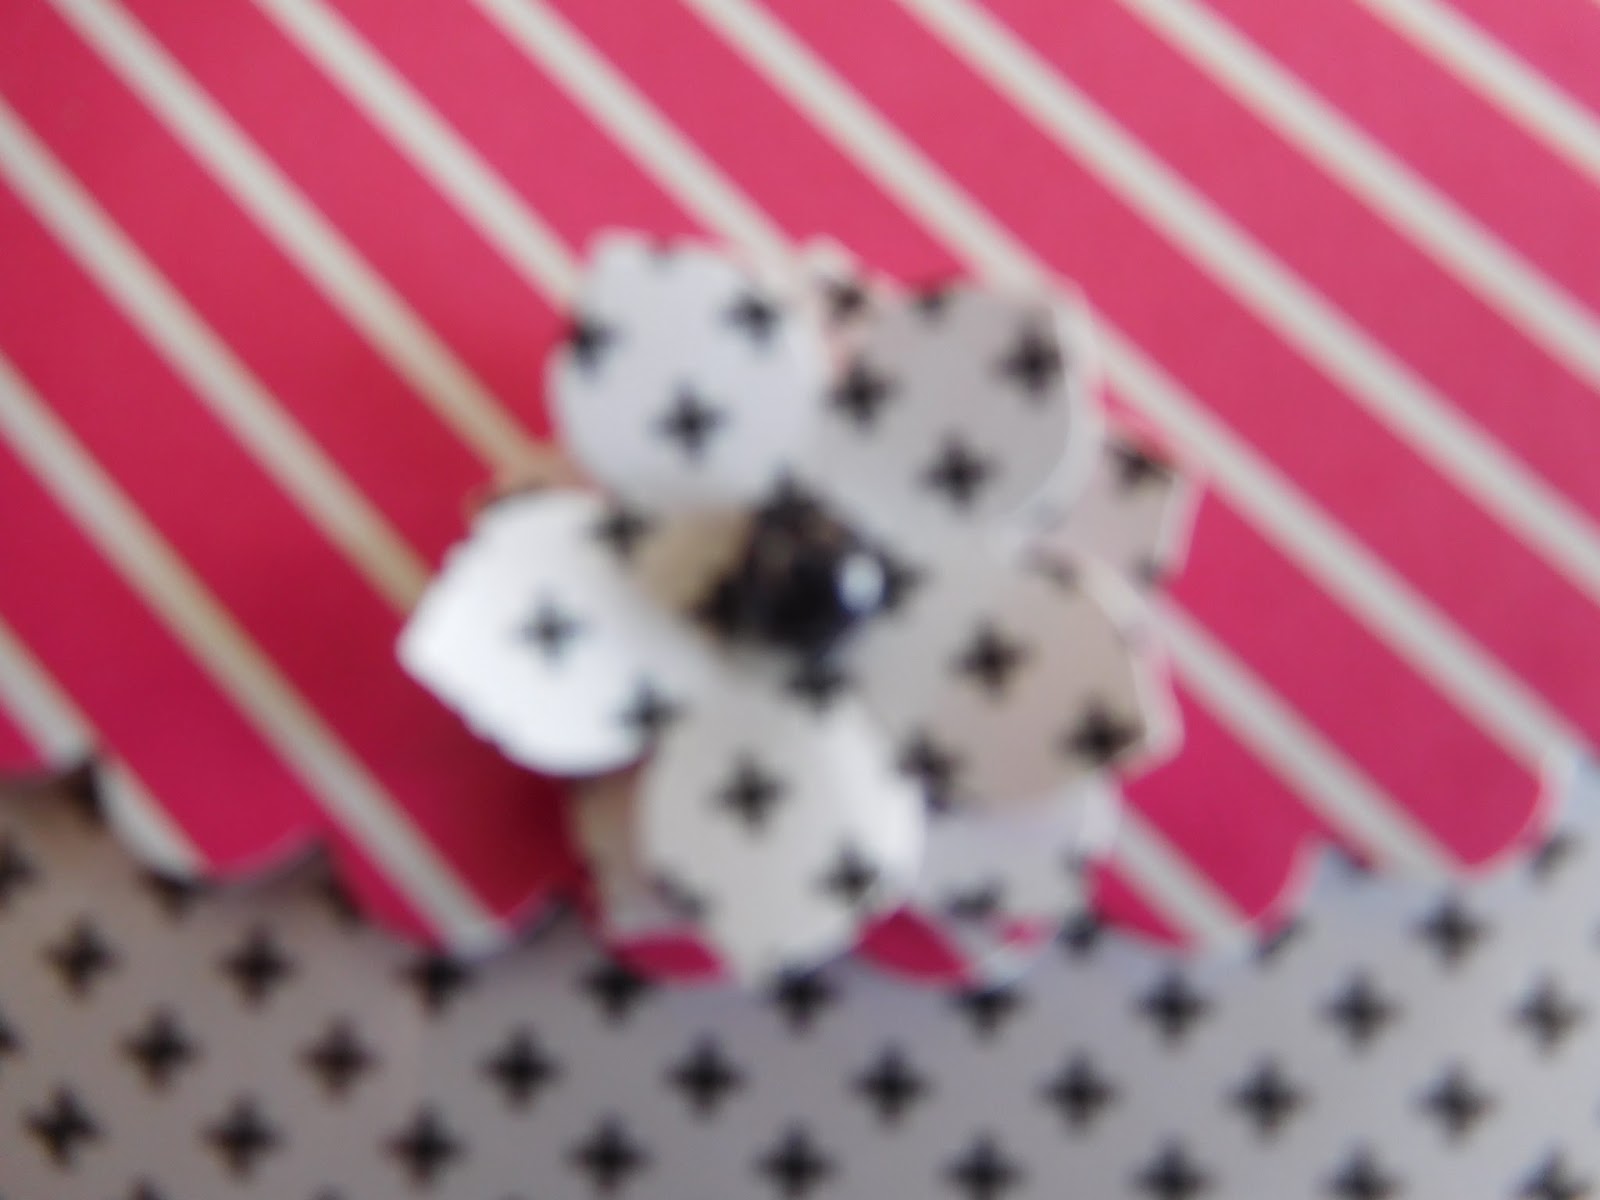
I added a cute little flower on top of the magnet nd the purse is complete.

Did I mention that these purses are the perfect size for chocolate?
The chocolate bars came from Aldi's.


3/6/18

Stampi' Up Event

Just in case you missed it here are pic from the last Stampin' Up Event.


Most of the time when I do a class I don't give them unlimited choices.  First of all some just can't make a decision to save their life and other times bringing out unlimited supplies is a recipe for disaster, especially if there is a large group.  But this time I wanted to showcase a card pack that has unlimited possibilities.  So they each got to choose a preprinted card base and take it from there.  These are the examples that I made and forgot to take a picture of their creations, which were all lovely.  You just have to trust me on that.

.
This card I wanted to showcase the free ribbon with a 50.00 purchase.


This little guy is note card size and is perfect for when you want to send a note but don't have a lot to say.

These little aprons were made using the Apron of Love set. We made one tag and the other is a book mark.  How cute would that be in a cookbook.  Yes, some people still use cookbooks.

And lastly are the stinkin' cute mini milk carton treat holders.  They are the perfect size for a Lindor chocolate.